

Bloxels is a creative platform that allows students to design and build their own video games using a visual, block-based interface. While it originally launched with a physical board and blocks, everything can now be done digitally—no physical pieces required. It works seamlessly on both Chromebooks and iPads, making it easy to integrate into a wide range of classroom setups.
I really like using Bloxels to teach video game design because it’s extremely user-friendly and approachable for students of all ages. It encourages creativity, storytelling, and logic in a way that feels more like play than work. While there is a cost to using the platform, I think it’s absolutely worth it. Plus, accounts can be shared across different classes, which is a big bonus for flexible scheduling and collaborative projects.
Bloxels is just one of many tools you can use to teach video game design, and I’ve found it especially effective with students in grades 2 through 5. The platform is intuitive enough for younger learners but still offers enough depth to challenge older elementary students. The official Bloxels website provides a wide variety of helpful resources, including tutorials and lesson ideas. On this site, I’ll be sharing some of my own classroom-tested tutorials—showing how I structure and implement lessons using Bloxels. I’ll also include links to any official Bloxels tutorials that align well with my approach, so you’ll have plenty of guidance and inspiration to get started.

Teacher Setup & Getting Started:
To begin using Bloxels in your classroom, you’ll first need to set up your teacher account through the Bloxels EDU Hub. This is where you’ll create and manage your classes, assign student logins, view their creations, and access key teaching tools. The process is simple: you’ll activate your account with a code provided at purchase, set up classes (with options for quick or custom setups), and share login info with your students using a unique Class Code.
For complete guidance on the setup process, including login instructions, class codes, and sharing tools, download the Bloxels Quick Start Guide.
Important: Before you begin the lessons featured on this site, make sure to download all of the Asset Packs (pg 16 of the Quick Start Guide) available in the Bloxels app. These packs include pre-built characters, animations, and art that will be used in the lessons I’ve developed. You’ll find them in the Asset Packs section of the app.
Lesson 1: Choosing Characters and Exploring Asset Packs: Download Lesson 1 / Download Bloxels Character Sheet
This first game design lesson focuses on helping students select the key characters that will appear in their video game. Using Bloxels Asset Packs, students choose a hero, minor enemies, and a boss—depending on their grade level. I like to begin here because it gives students a clear and creative entry point into the game-making process. It introduces them to the platform, helps them explore character abilities, and starts shaping how their game will eventually look and play.
This lesson can stand on its own or become the launchpad for deeper learning. If time allows, you can incorporate optional writing extensions, such as developing character backstories, building a detailed setting, or planning out the game’s storyline. These cross-curricular options strengthen literacy skills while enriching the overall game design experience.
BLOXELS Writing Extension Options: 1. Understanding Plot / 2. Descriptive Writing / 3. Character Backstories / 4. Dialogue Writing
Lesson 2: Planning the Game Level Using Block Mode: Download Lesson 2
Bloxels Game Builder Resource Page / Bloxels Planning Grid Sample
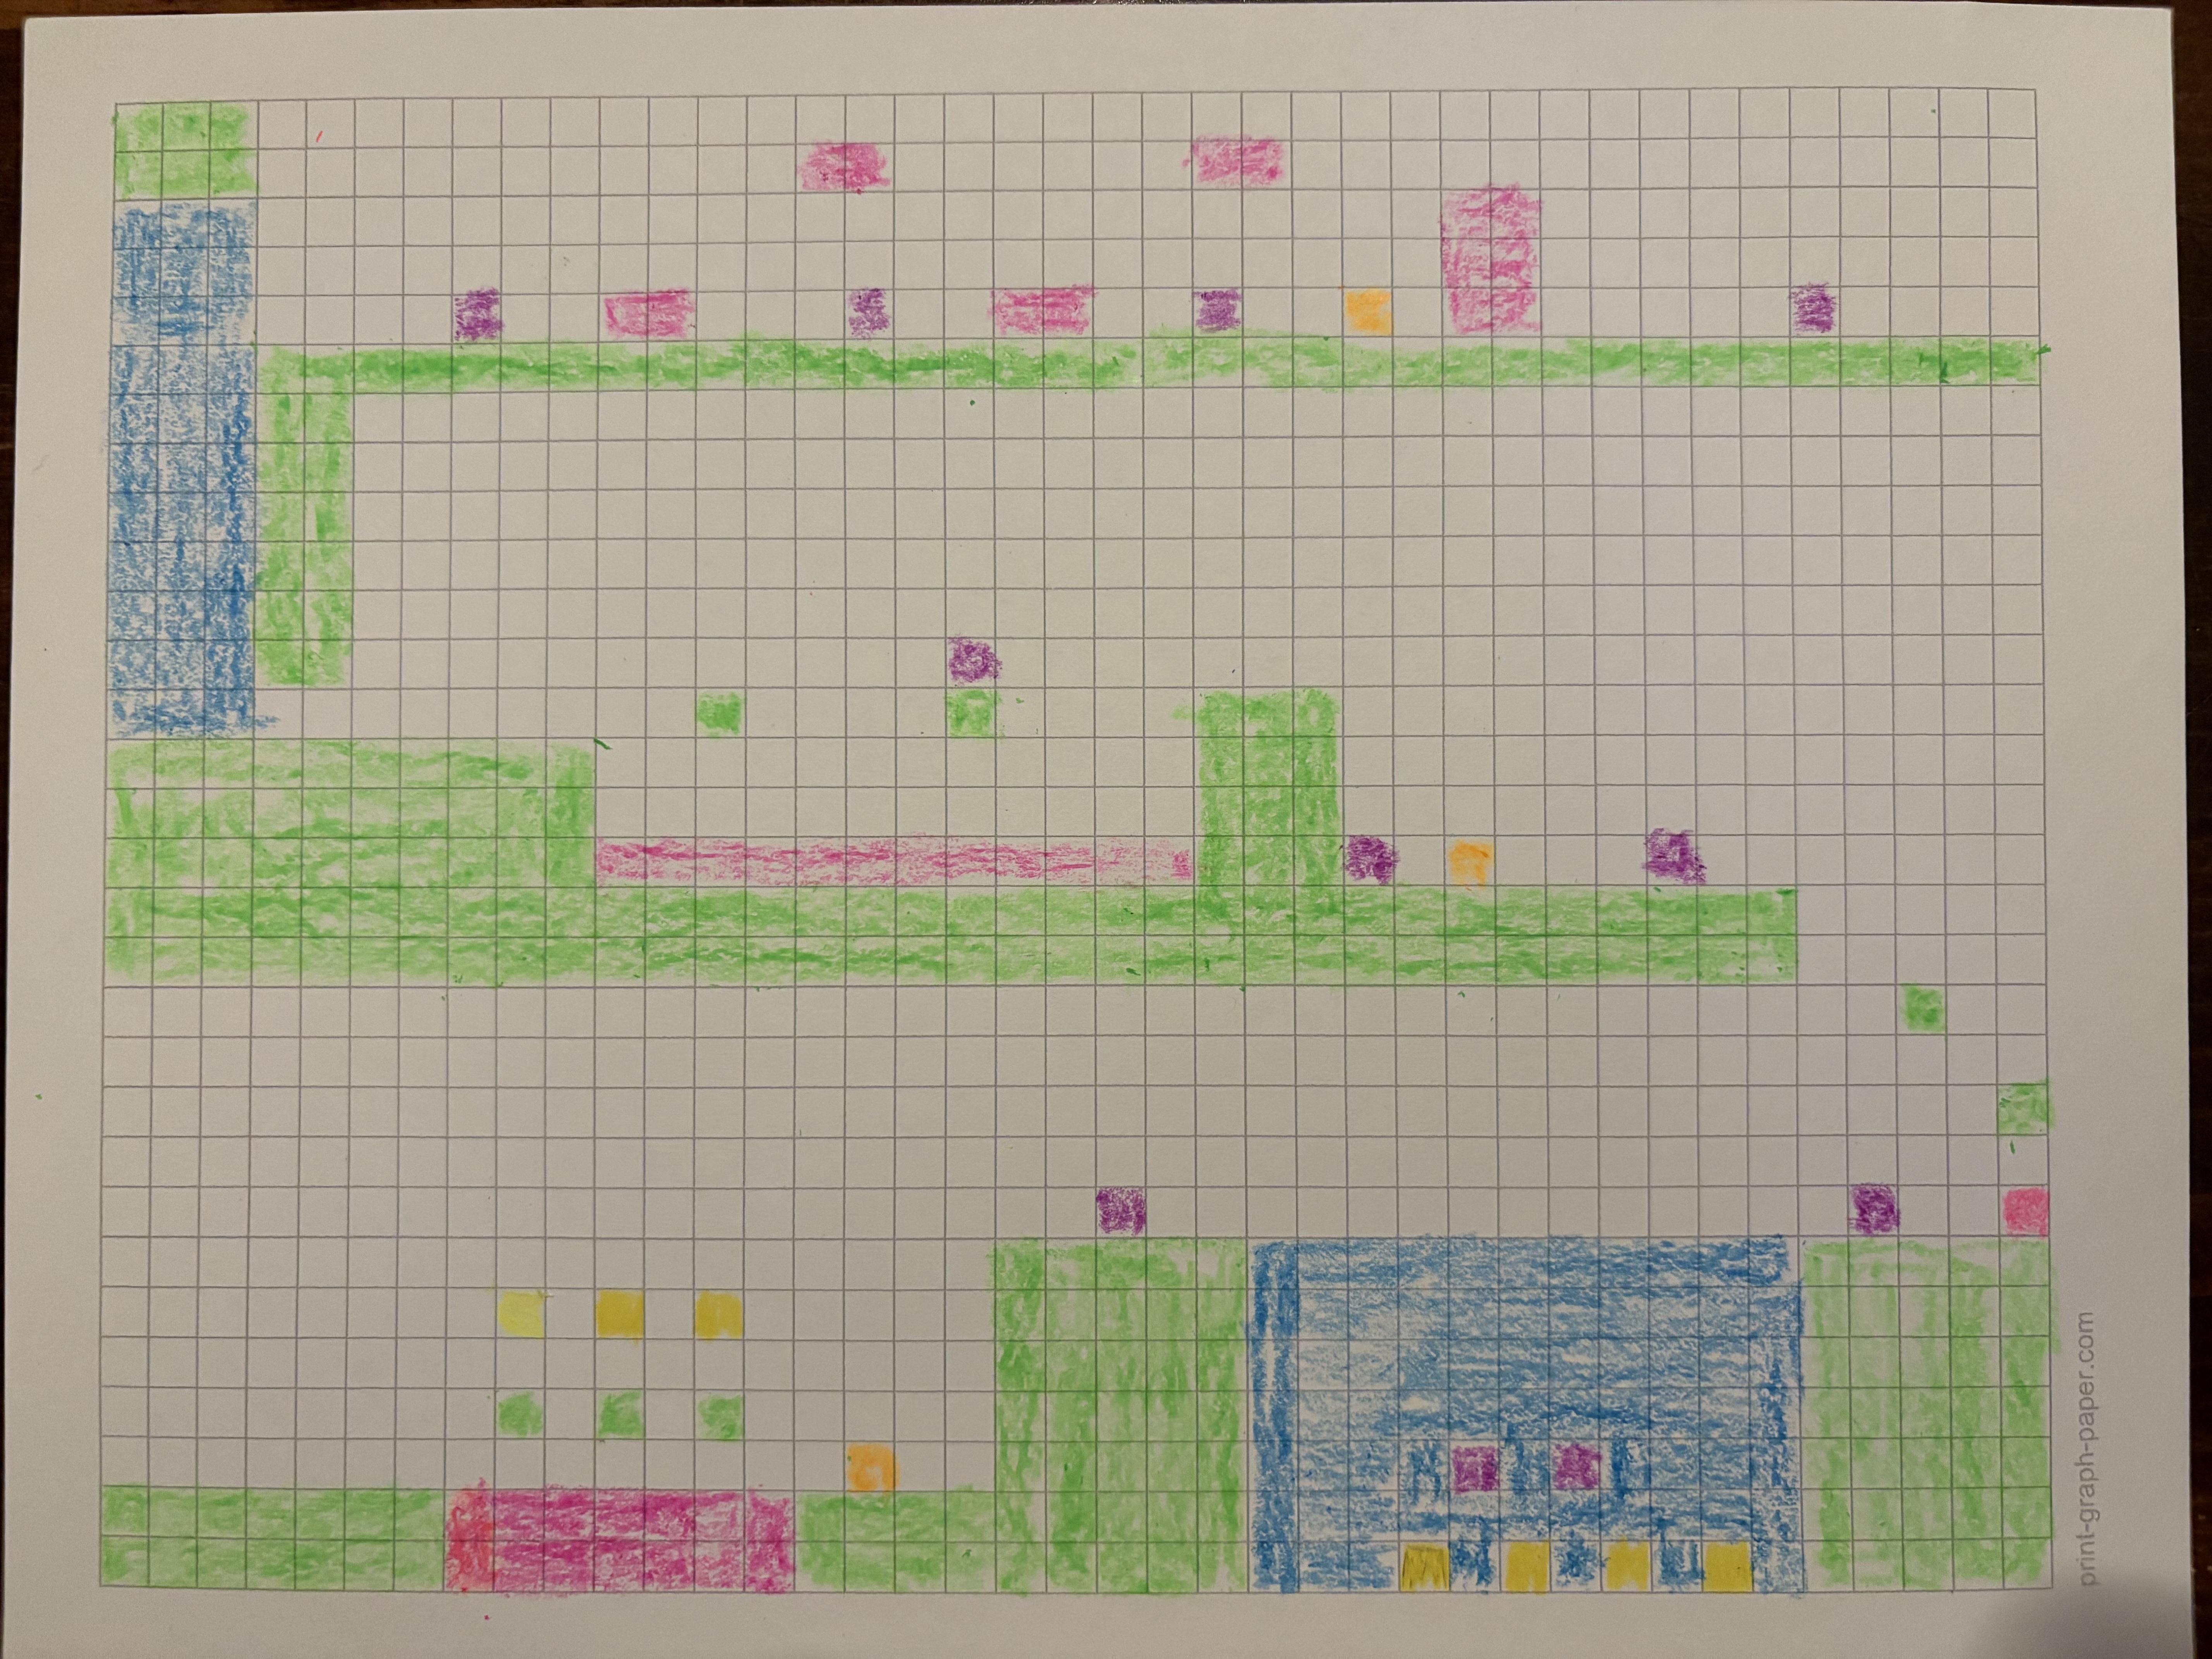
In this lesson, students become game designers as they plan the layout of their very own platformer game! Using grid paper and colored pencils, they’ll sketch out a level filled with hazards, enemies, power-ups, and more — all based on the official Bloxels block system. Before building digitally, students will bring their ideas to life on paper and learn how to balance fun, challenge, and creativity.
The following tutorial covers Lessons 2 and 3:
Lesson 3: Building, Testing, and Improving Your Game Level: Download Lesson 3
In this lesson, students bring their paper plans to life using the Bloxels Game Builder! After customizing their game’s name and hero, they begin building their level in Block Mode. Through playtesting and reflection, students discover what works — and what doesn’t — then make real-time improvements. By sharing and observing others’ games, they gain new ideas and learn how thoughtful design can take their level from good to great.
Lesson 4: Customizing Game Design – Art, Music, and Behavior: Download Lesson 4
In this lesson, students bring their games to life by customizing how they look, sound, and play! From choosing backgrounds and music to designing block art with the Asset Pack tab, students add personality and polish to their game worlds. Older students go even further, configuring how blocks behave — adjusting bounce height, enemy actions, and power-up effects — then reflecting on what worked, what didn’t, and how they made it better.
Lesson 5: Enhancing Gameplay with the Mid-Background and Trigger Tab: Download Lesson 5
In this final lesson, students step into the role of cinematic game designers! They’ll learn how to add layered backgrounds, trigger dramatic music shifts, change the weather, create locked doors with keys, and even zoom the camera for epic effects. With these powerful tools, students transform their games into immersive experiences — full of mood, story, and surprise.
Lesson 6: Publishing to the Bloxels Arcade & Playtesting Classmates’ Games: Download Lesson 6
In this final lesson, students proudly publish their finished games to the Bloxels Arcade and become official game creators! They test out games made by their classmates and leave encouraging feedback, celebrating creativity, surprises, and clever design choices. It’s a fun, reflective way to wrap up the unit and recognize just how far they’ve come as game designers.
